Introduction to Smartcar's API
Learn about how to build applications that connect to millions of vehicles around the world.

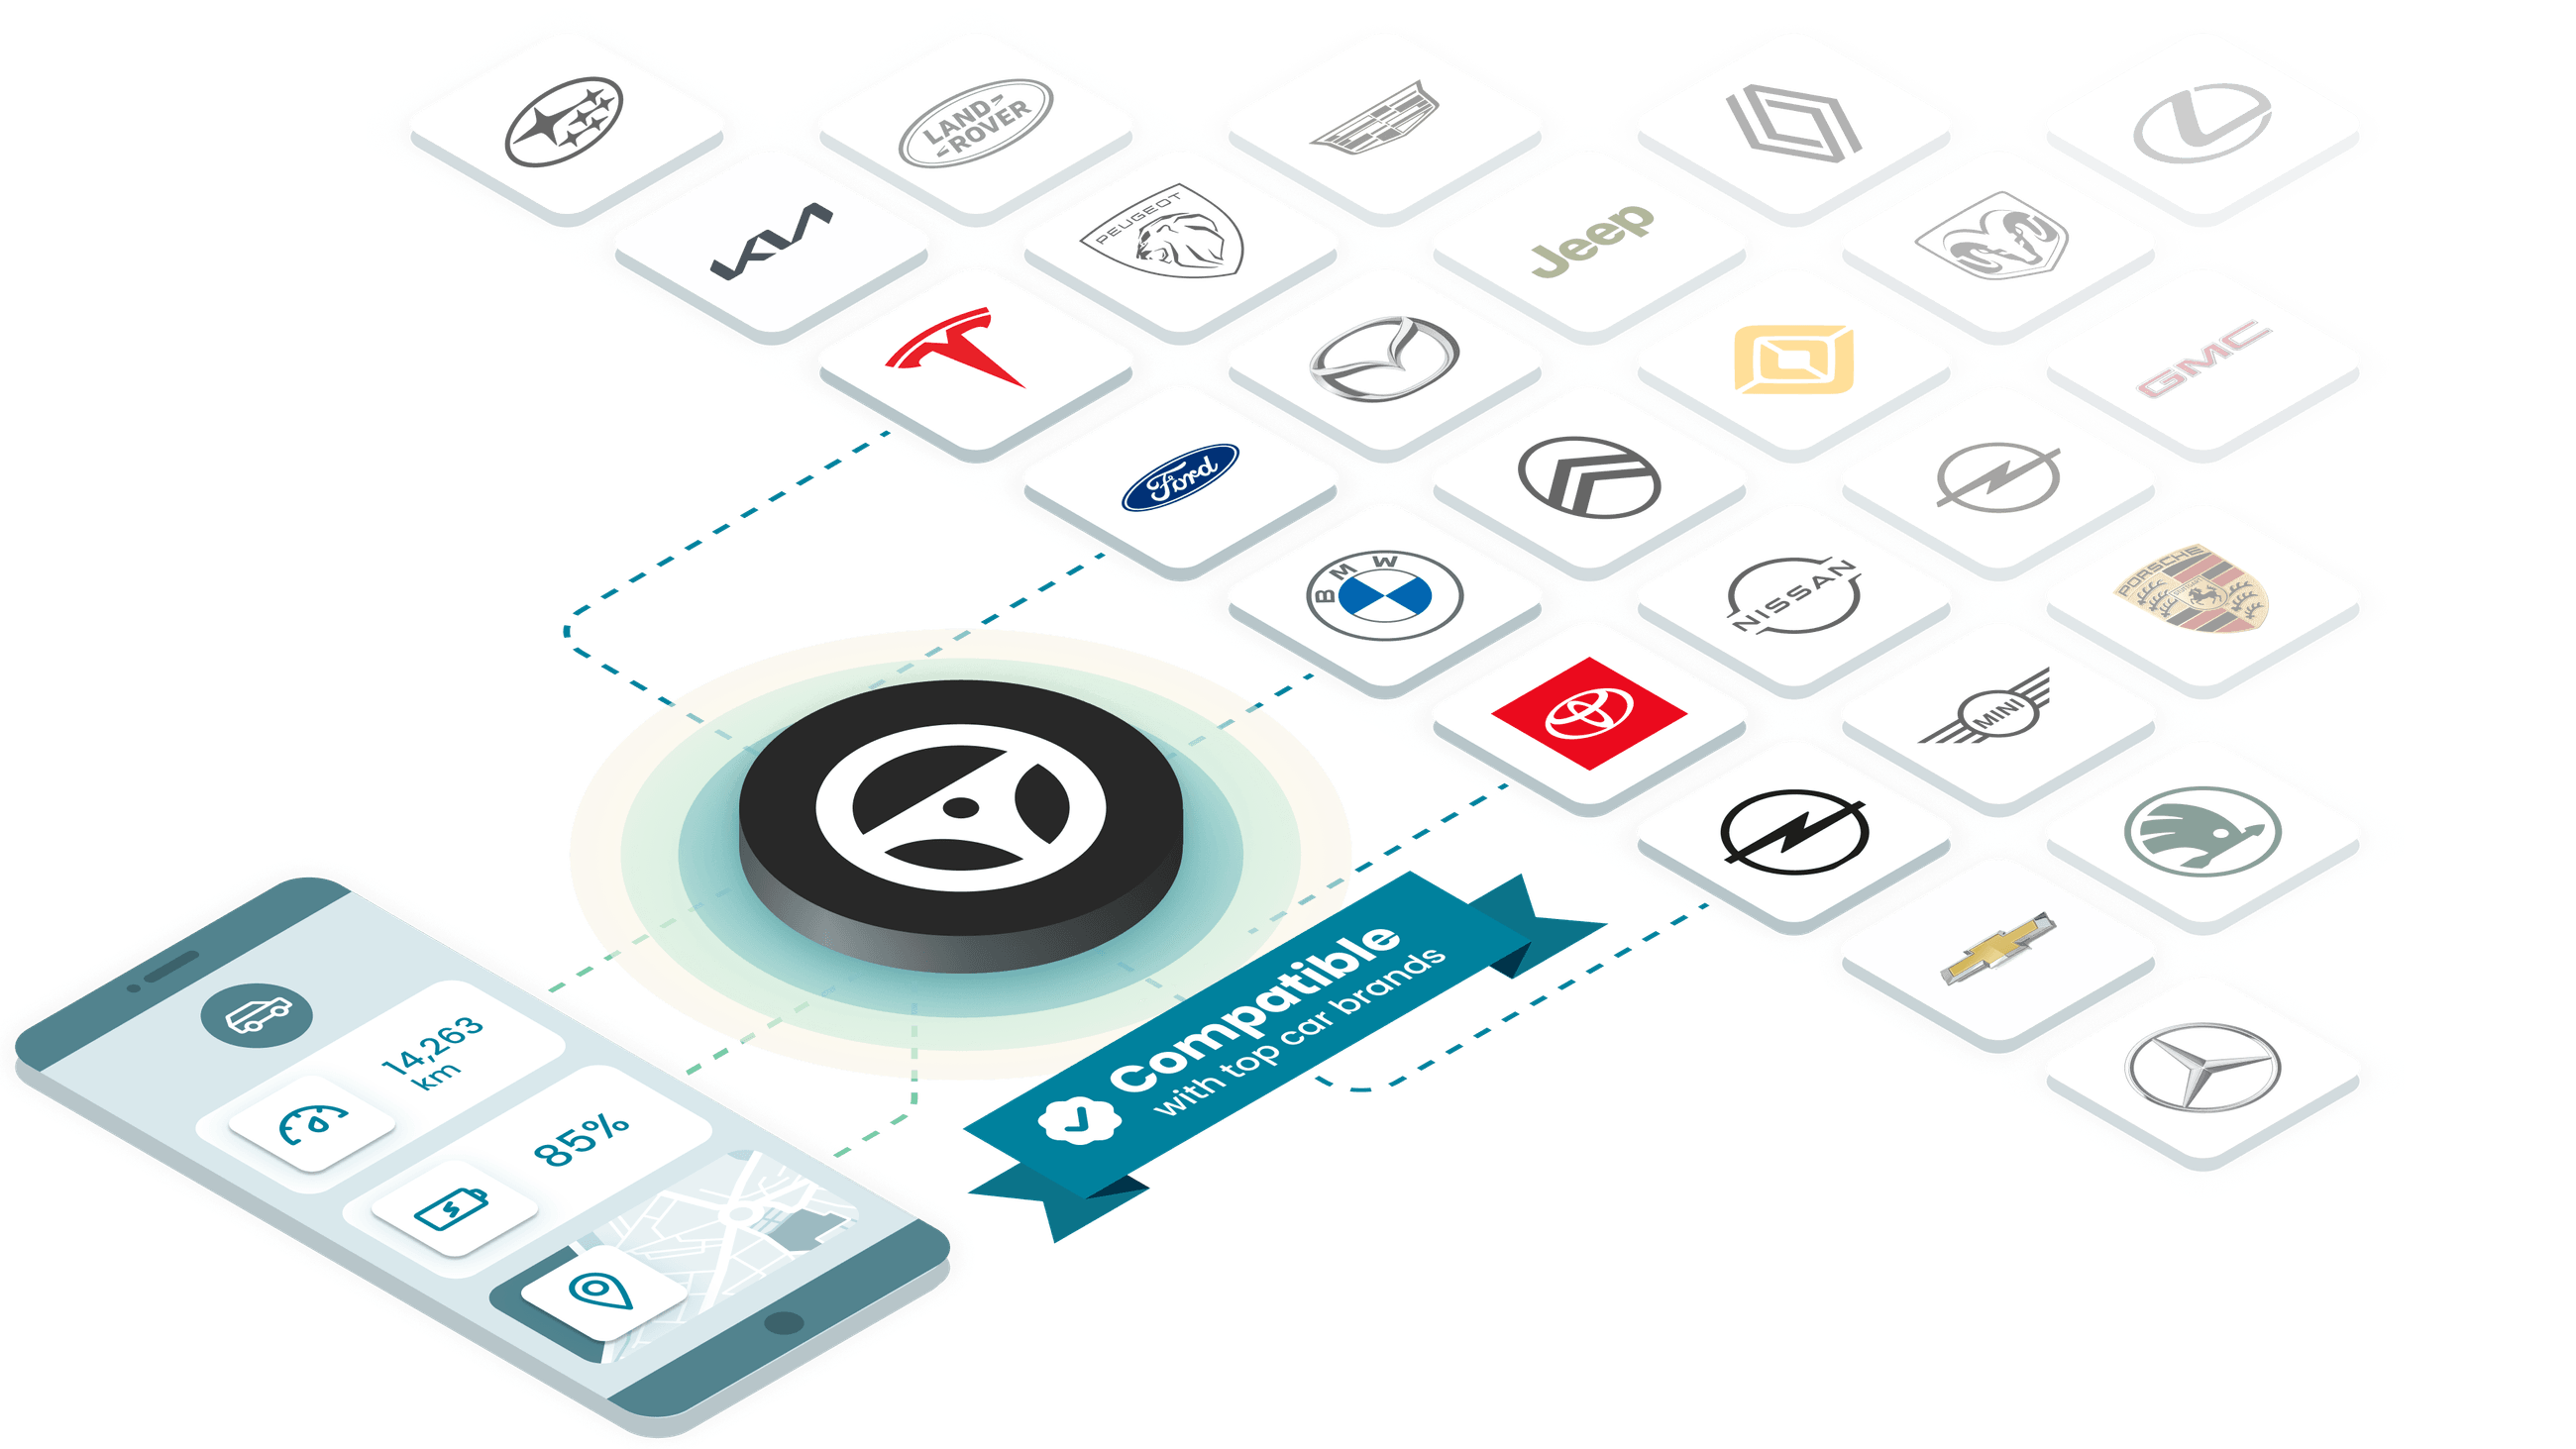
Smartcar is the only car API built with the highest standard for privacy and security. We allow your application to communicate with millions of vehicles easily and securely while giving vehicle owners the choice of how they share their data.
Below are a few concepts to help you get familiar with Smartcar’s API.
Let’s get building!
What you need before you get started
Before making requests to a vehicle, the owner must grant your application permission to access their data. To request permission from the vehicle owner, you must present the Smartcar Connect flow to the user. To launch Smartcar Connect, you need to:
Get your credentials and configure your app
Register an application and get your CLIENT_ID and CLIENT_SECRET. Set a REDIRECT_URI to the path where Smartcar will redirect your users after they grant permission to your app. You can get these from the Smartcar Dashboard.
Launch Smartcar Connect
With your CLIENT_ID and REDIRECT_URI you can launch Connect. This is how you and your users can add vehicles to your application.
Exchange and store your tokens
Once users authorize your app to access their vehicles, you receive a code that you can exchange for an ACCESS_TOKEN and REFRESH_TOKEN. Make sure to store these tokens in a secure place (like your application’s database). You need the access token to make requests to the Smartcar API. More information can be found in our Token Management Overview.

