We’re proud to announce a brand-new feature in the Smartcar dashboard: scheduled webhooks. Starting today, select customers can use webhooks to retrieve a collection of vehicle data at set time intervals. After our invite-only beta program ends, webhooks will be available to all developers as a Smartcar Pro plan feature.
When should I use webhooks?

Scheduled webhooks allow auto insurance, fleet management, vehicle maintenance, and other companies to make their applications more powerful and efficient than ever before.
Whenever you need to retrieve certain information from a vehicle on a regular basis, we recommend subscribing that vehicle to a scheduled webhook. This way, your application automatically receives the requested data at the set interval, instead of having to run a time-based job scheduler to actively make API requests on its own.
Car insurance providers use scheduled webhooks to verify their policyholders’ mileage, garaging location, and VIN on a daily or monthly basis.
Fleet management companies conveniently manage their operations using webhooks. Instead of manually retrieving the location, odometer, and fuel tank level from all vehicles, scheduled webhooks allow fleet managers to automatically receive this information once per day or once per week.
EV charging networks find great value in using webhooks as well. They check on their customers’ EV battery level every evening and notify them if they need to charge overnight.
These are only some examples of the many ways in which scheduled webhooks can be useful for your application.
Why should I use webhooks?

When you use scheduled webhooks instead of scheduling your own interval-based data retrieval, you’ll see several benefits:
Access token management
With scheduled webhooks, you no longer have to manage access tokens. When a vehicle owner links their vehicle through Smartcar Connect, your application receives an access token that expires every two hours. After subscribing the vehicle to a scheduled webhook, you no longer have to refresh access tokens, as webhooks will provide you the requested data at the specified interval. Smartcar takes care of all token management for you.
Rate limits
Usually, when your application makes a large number of API requests to Smartcar within a short time period, you risk hitting Smartcar's request rate limit and not receiving a response for all of your requests. Scheduled webhooks eliminate the need for you to space out your API requests. Instead, you just need to wait for Smartcar to send you the requested data at the interval of your choice.
Retry logic
If you don’t use scheduled webhooks and an API request you sent comes back with a vehicle state error, you usually should try sending the same request to the same vehicle again some time later. When you use webhooks, we take care of this retry logic for you. If an API request results in an error, we will retry the same request multiple times to increase the likelihood that we can send you a successful response.
How can I set up webhooks?

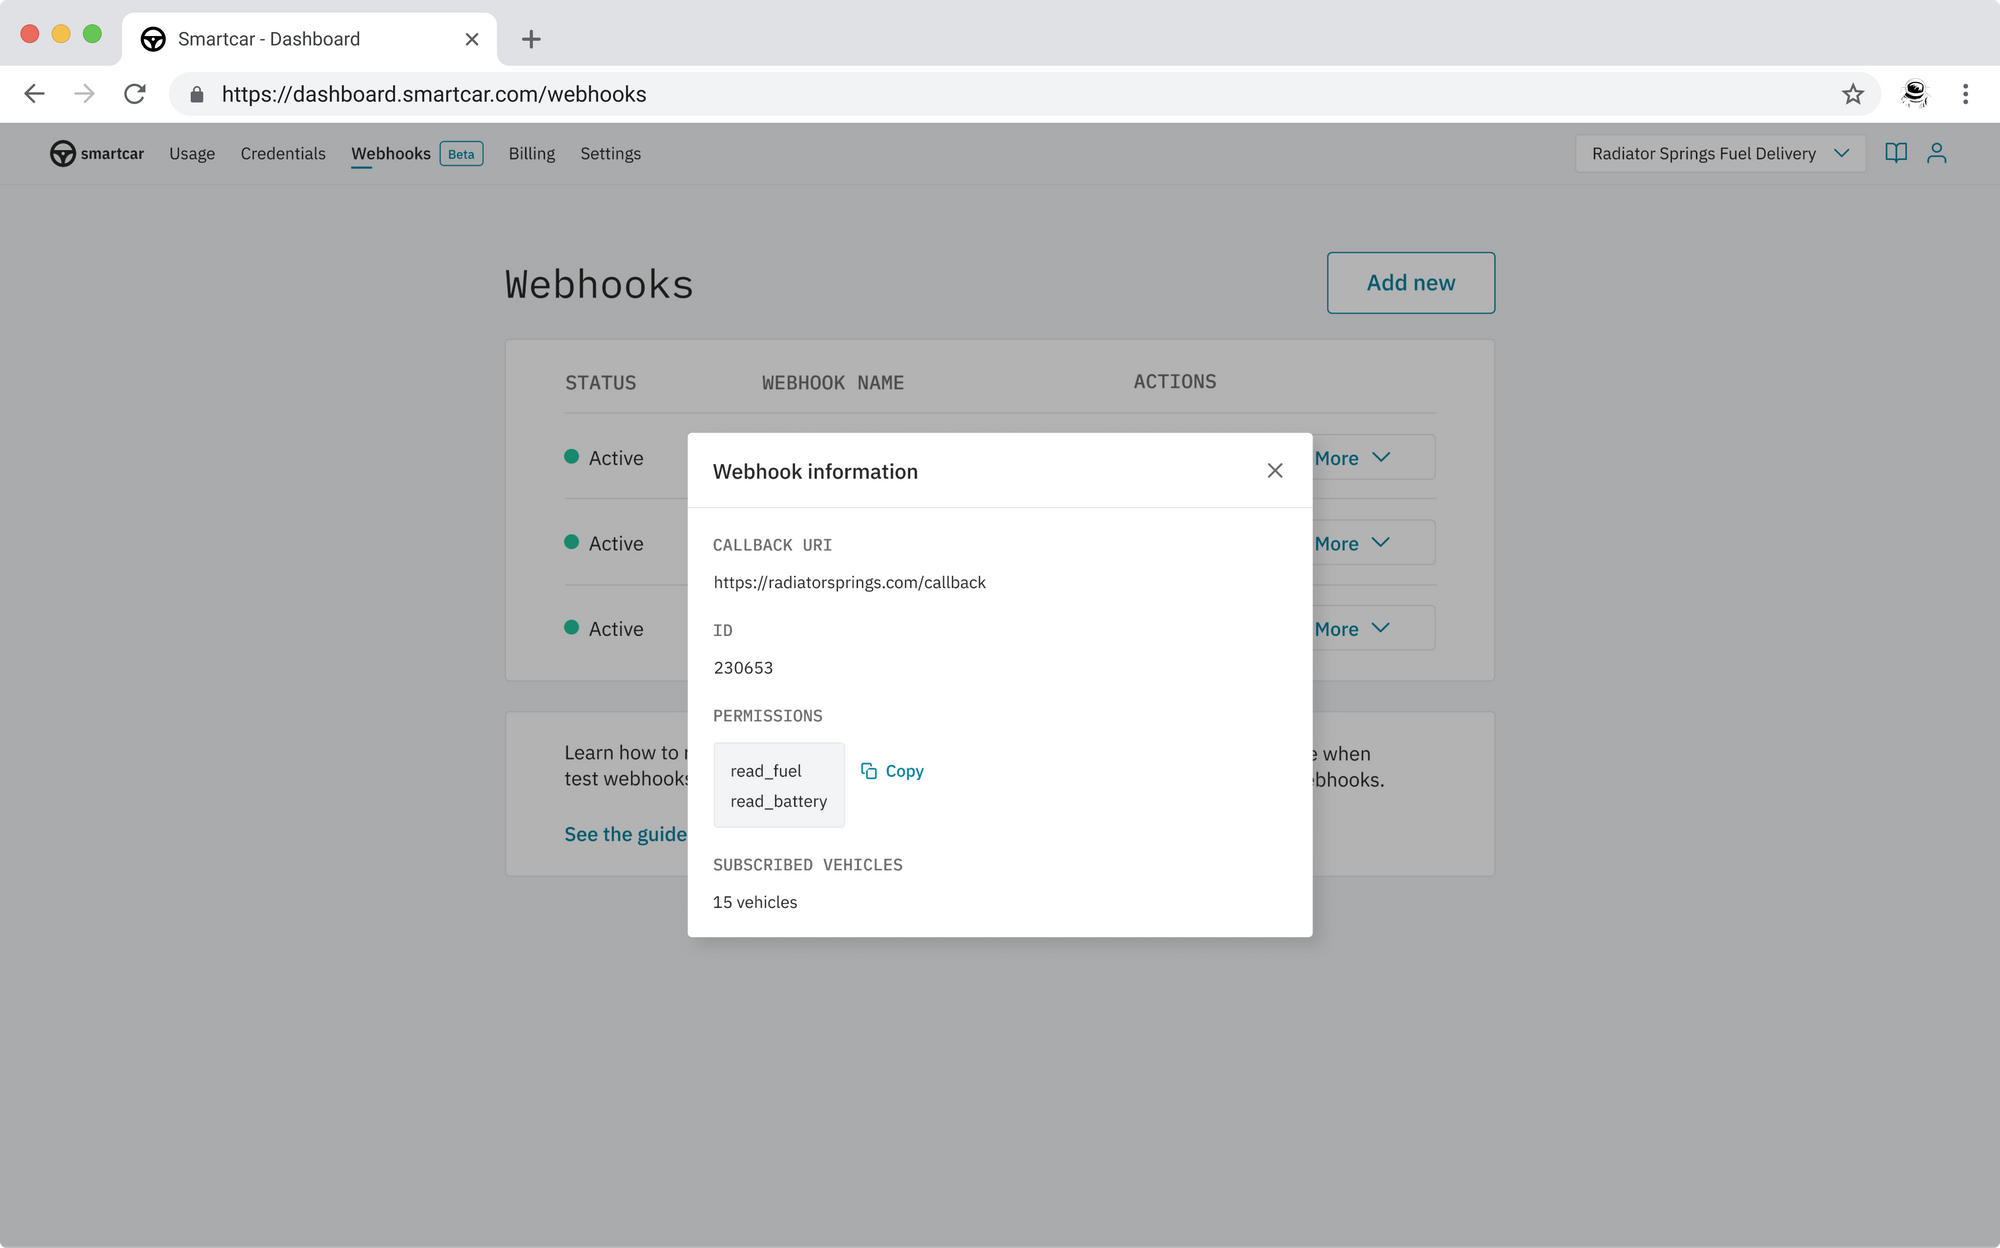
Setting up a scheduled webhook is really fast and simple. Just log into the Smartcar dashboard, select the “Webhooks” tab, and follow the steps below:
1. Create webhook
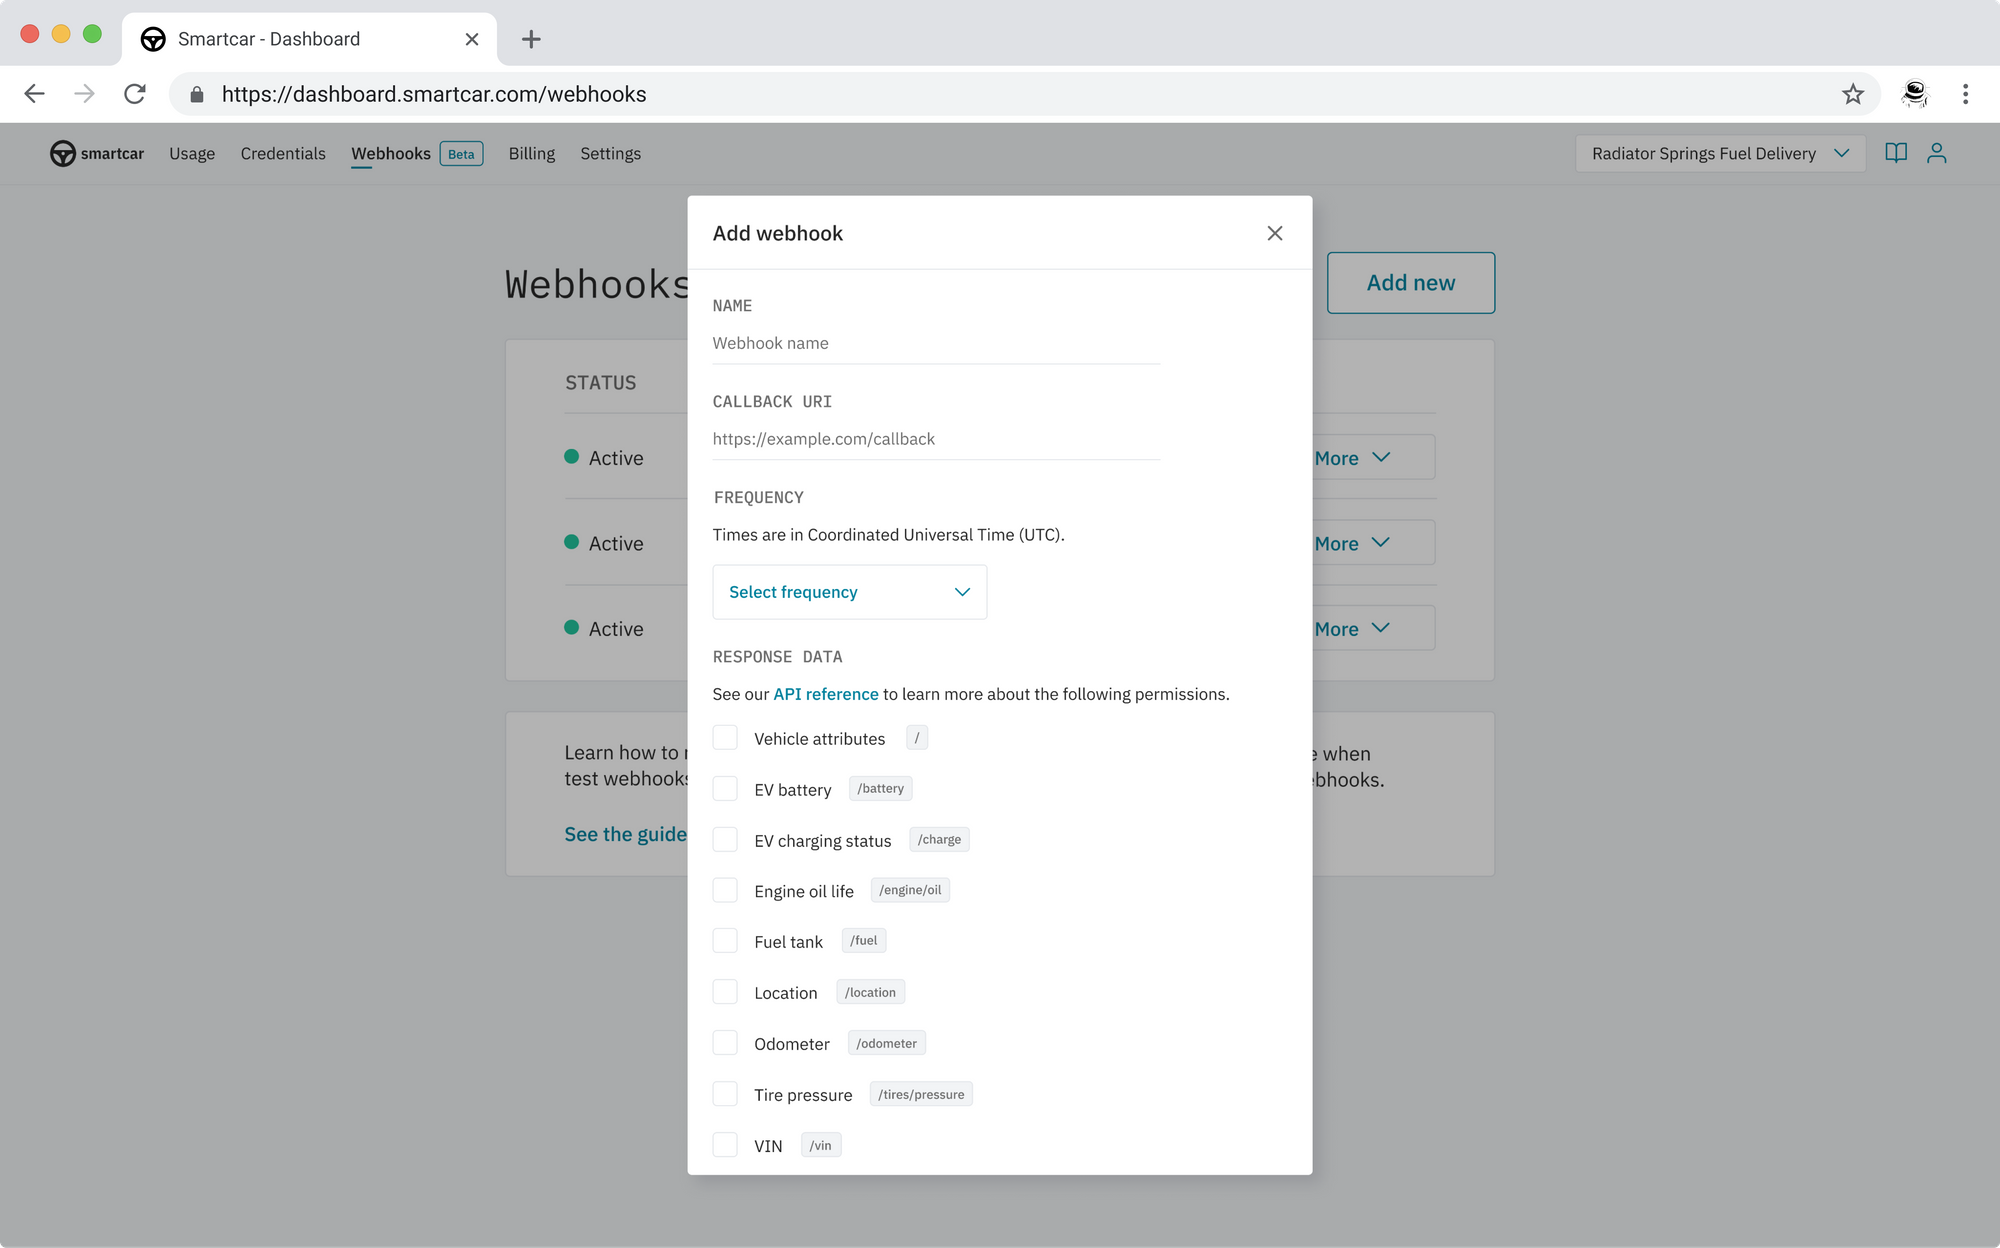
Click “Add new” and set the necessary parameters. Smartcar allows you to choose between daily, weekly, and monthly time intervals. Currently, scheduled webhooks exist for our EV battery, EV charging status, fuel tank, location, odometer, oil life, tire pressure, vehicle attributes, and VIN endpoints. You can choose to include one, multiple, or all of these endpoints in your scheduled webhook.
2. Verify webhook
Before your webhook gets activated, you need to verify it. Simply hit the “Verify” button next to the webhook name. Smartcar will send a request to your callback URI to make sure it’s valid. Tip: If you would like to see whether the webhook is working correctly, you can click “Test” from the dropdown menu and send a test request to it.
3. Subscribe vehicles
Subscribe one or multiple vehicles to your webhook.
4. Done
You’re all set up with your first scheduled webhook! Now all you need to do is wait for data to come in at the chosen time intervals.


.jpg)

