1. Create a simulated vehicle
Create a simulated vehicle
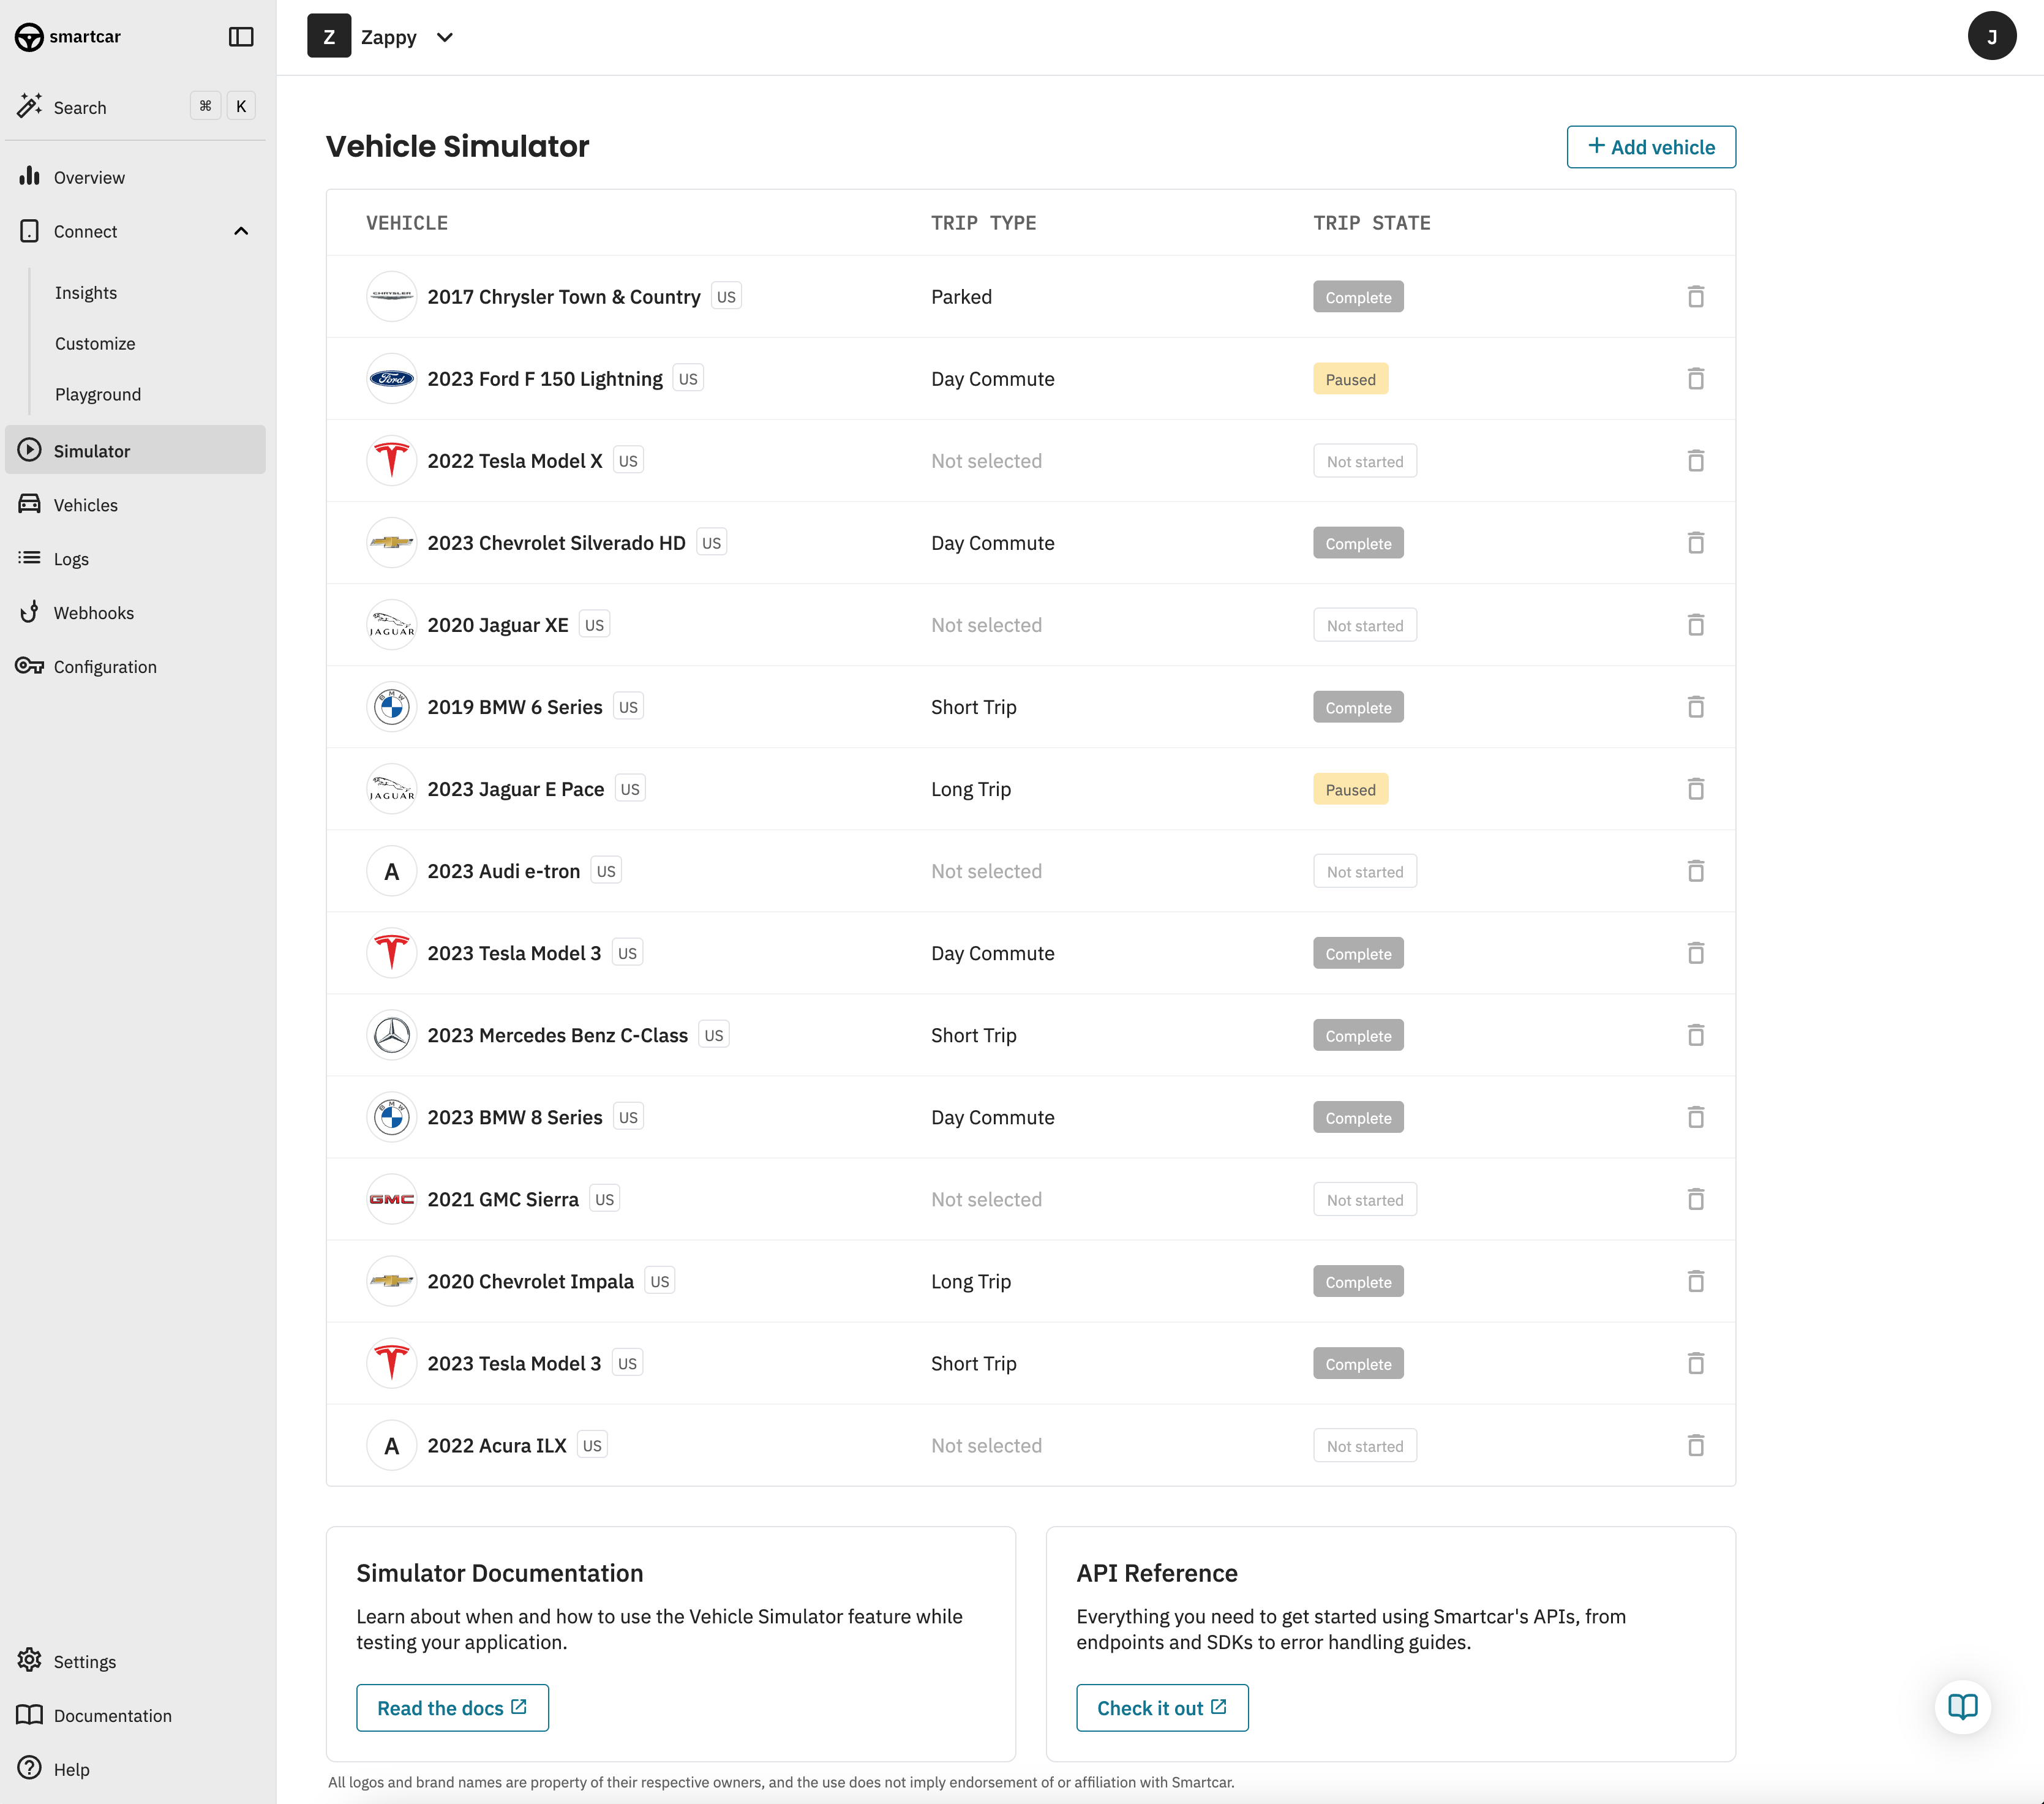
Begin by logging into the Smartcar Dashboard and navigating to the Simulator tab. Choose your region and select a Smartcar-compatible vehicle using the Make, Model, and Year dropdowns. Or, use the VIN search feature to create a simulated vehicle of the same Make, Model and Year as the VIN entered, as long as the vehicle is compatible with Smartcar. Please note the VIN search is only available for US-based VINs at this time.Review the vehicle capabilities
Confirm the vehicle’s supported capabilities includes those you wish to test.Select a vehicle state
Select from one of three available vehicle states for your simulated vehicle. The states vary in duration from 8 to 24 hours and include driving, charging, and parked vehicle states for a wide range of test scenarios.2. Connect your app to the simulated vehicle
Once you’ve selected a vehicle and state, you are ready to connect the simulated vehicle to your application for testing. Grab the simulated vehicle credentials On the simulation screen, you will find a Connect Credentials button that will open a modal containing the simulated vehicle’s credentials. You will need these to connect your app and vehicle using Smartcar Connect.Launch Smartcar Connect in simulated mode
When launching Smartcar Connect, pass in the query parameter mode=simulated to enable simulated mode and ensure you can connect to your newly created simulated vehicle. Smartcar’s SDKs provide a convenient option to facilitate this:Log into a connected services account
After launching Smartcar Connect, select the brand that matches your simulated vehicle and enter the credentials pulled from the Smartcar Dashboard simulation screen on the brand login page. You will then be prompted to grant access to your selected permissions. Upon completing the Smartcar Connect flow, return to the Smartcar Dashboard. It may take up to a minute to reflect that your vehicle is now connected. Once connected, the vehicle ID will appear next to the vehicle’s VIN near the top of the simulation screen.3. Start the simulation and begin testing
Once the vehicle is connected to your application, you are ready to start the simulation and begin making API requests to the simulated vehicle.Start the simulation
In the Smartcar Dashboard on the simulation screen for your selected simulated vehicle, start the simulation by pressing the Play button. You have the option to pause, resume or restart the simulation at any time. Additional controls you have over the simulation:Control the simulation speed
You can control the simulation’s speed in case you would like to test the vehicle at various stages at a faster or slower pace.Change the simulation stage
Once the simulation has started, you can jump to any stage of the simulation in the event you would like to test the vehicle in a particular state.Set the API response latency
Control the response latency of any API requests you make to the simulated vehicle.Ideal - API responses are returned immediately upon request.
Realistic - API responses are delayed a certain amount of time based on average API response latency statistics that Smartcar has gathered for each supported brand.
A breakdown of estimated response latencies can be viewed by clicking on the ‘View latencies’ link directly underneath the Request Latency dropdown in the Dashboard. Please note latency estimates may not be available for all brands. In these cases, the Realistic setting will return immediate responses — same as Ideal.
Change the vehicle state
You can select a different vehicle state for your simulated vehicle at any time. Select the Edit icon in theTrip type card on the simulation screen.